Not just write one, or draw one, but actually make a real book where you can pick your cover design, include author information, and bind your pages together? Well, with this fun craft… you can! Just gather the supplies below and get started!
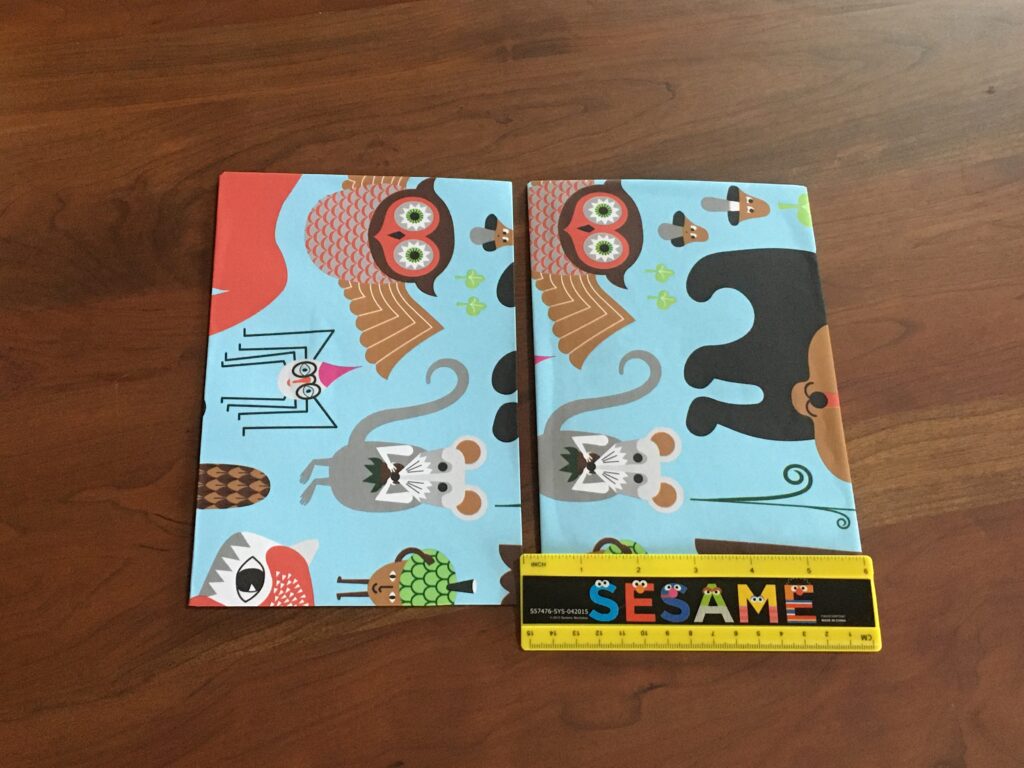
*2 pieces of poster board (approx 8.75 by 5.65 inches) *2 pieces of wrapping paper (approx 8 by 11 inches) *Glue stick *Stapler *Print out of interior pages (available in the pdf instructions) or 5-8 sheets of blank white paper, standard letter size (8.5×11 inch) *2 sheets of colored paper, standard letter size (8.5×11 inch) *Colored duct tape *Scissors *Markers, stencils, and stickers *Book award sheet (available in the pdf instructions) *Ruler
Instructions
Step 1
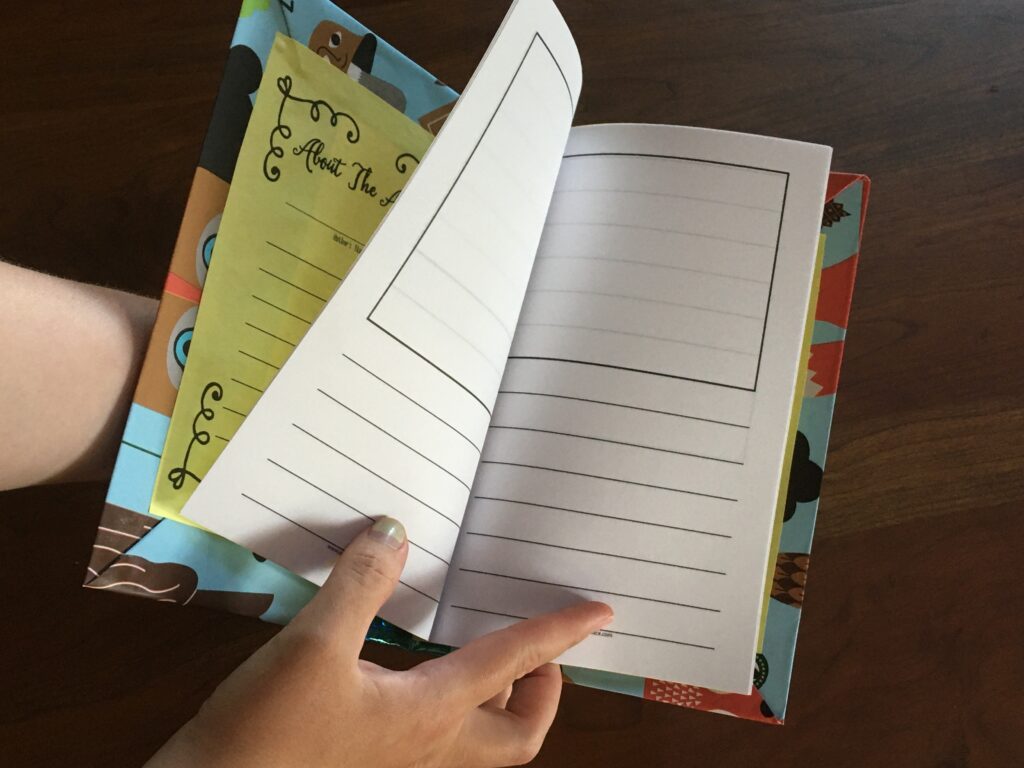
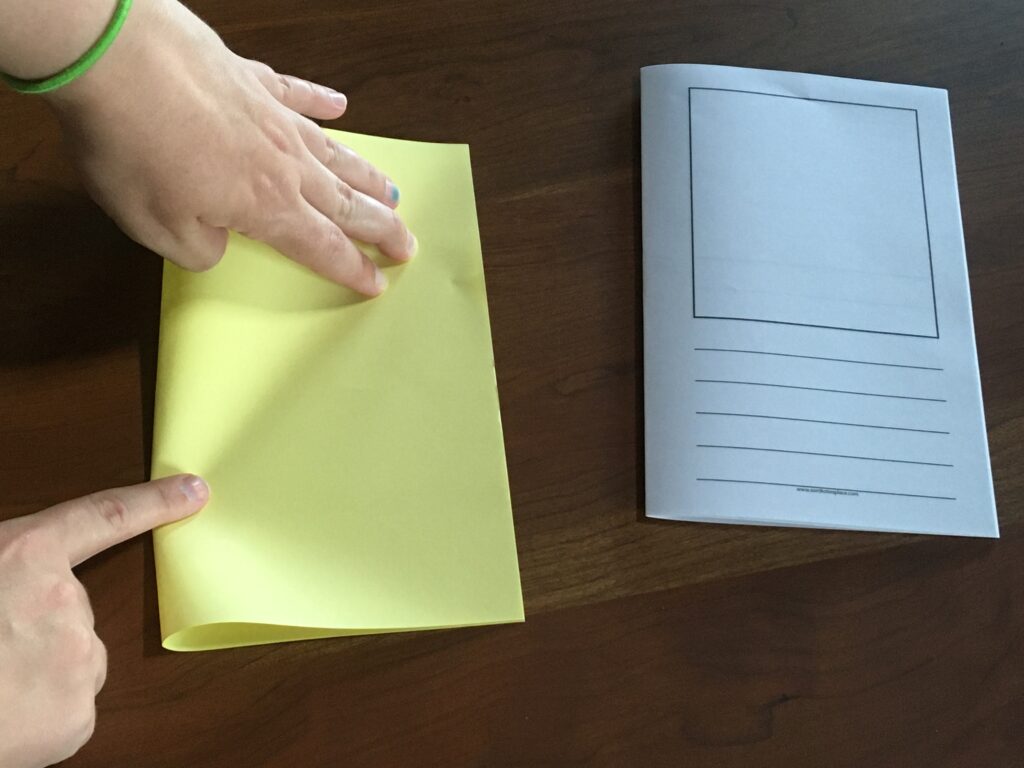
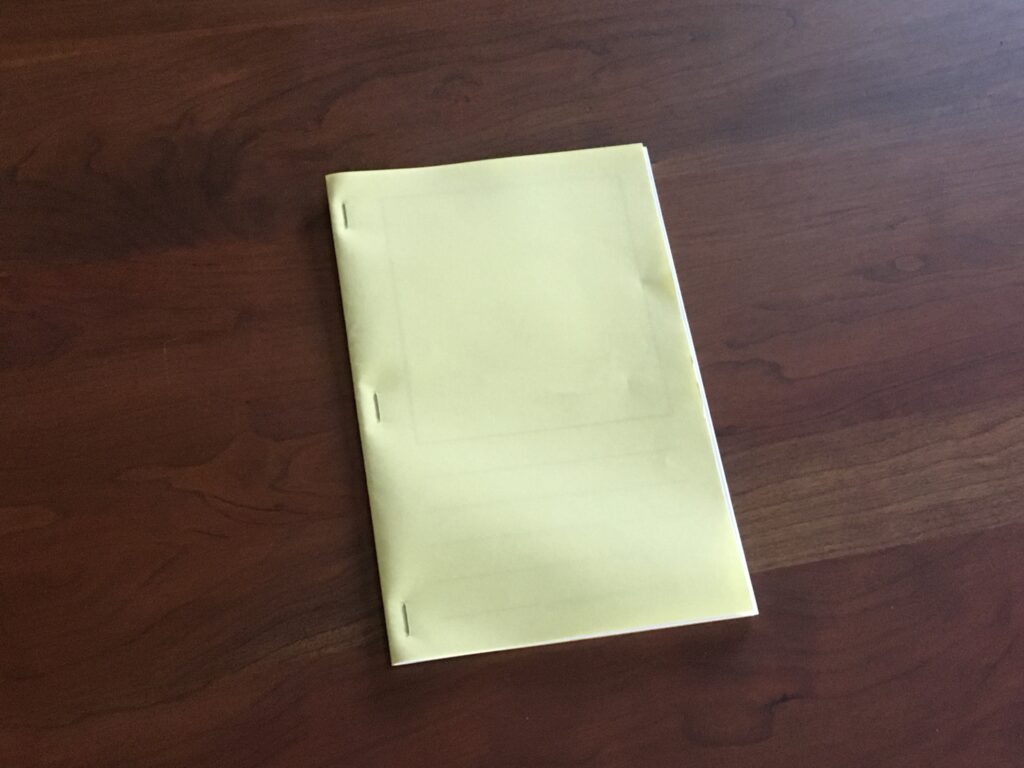
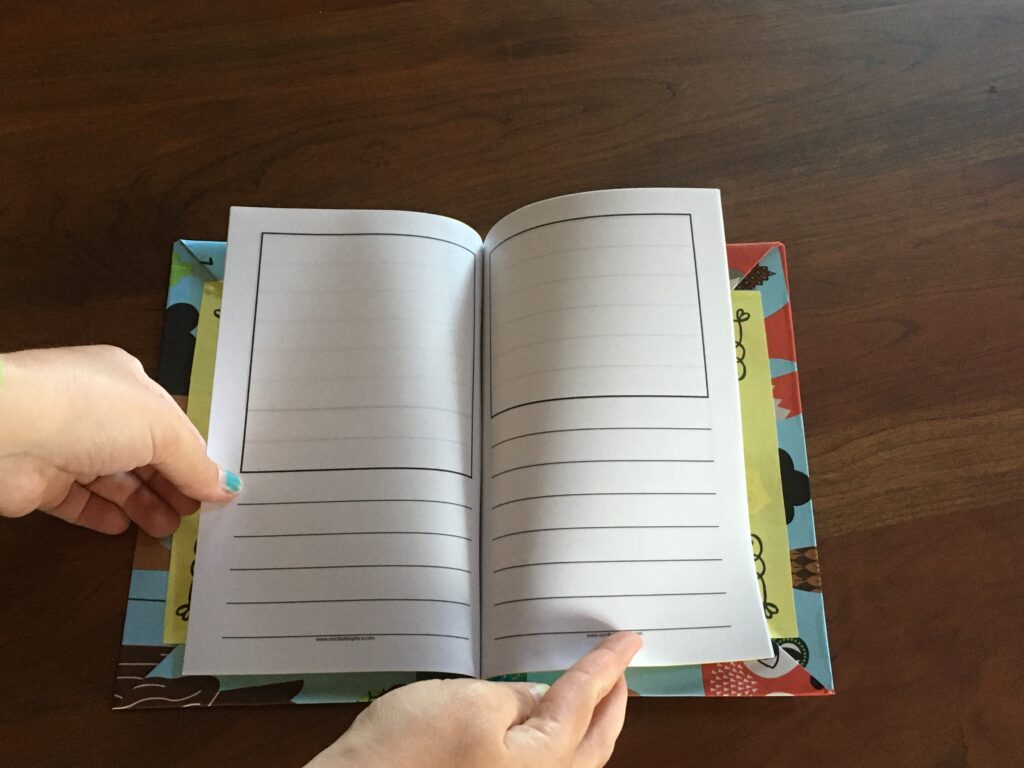
Take your interior pages and one sheet of your colored paper and fold it all in half. Place your interior pages inside the folded colored page to create a booklet. Staple three times about 1/4 inch away from the folded the edge. One toward the top, one in the middle, and one toward the bottom.
Step 2
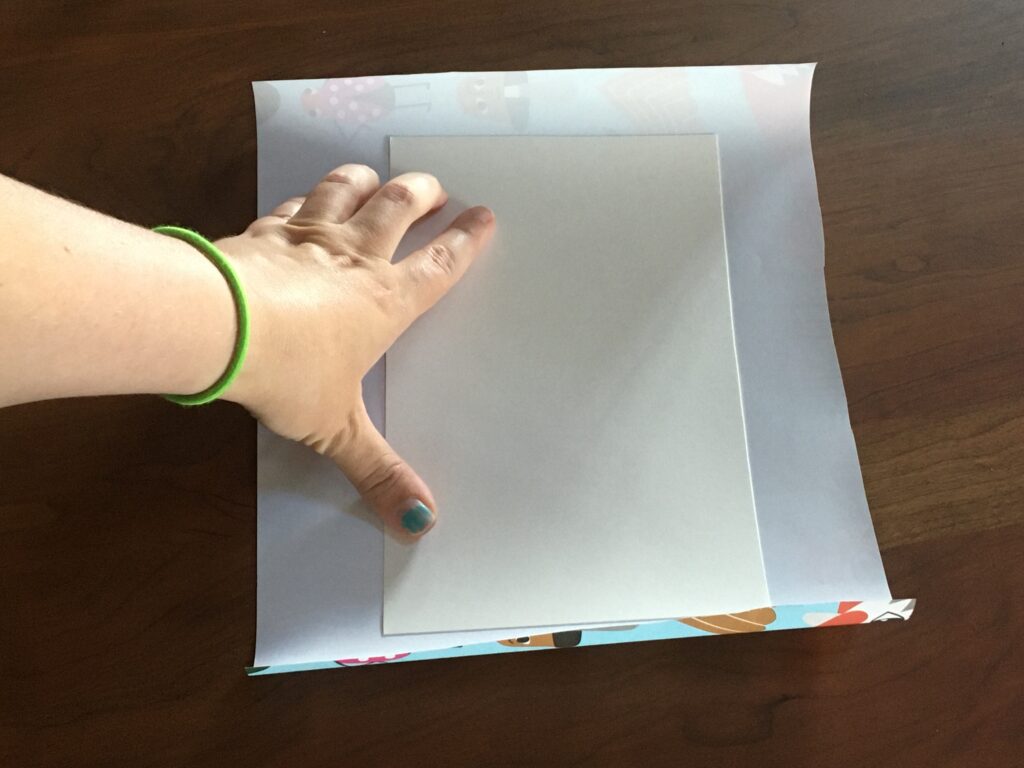
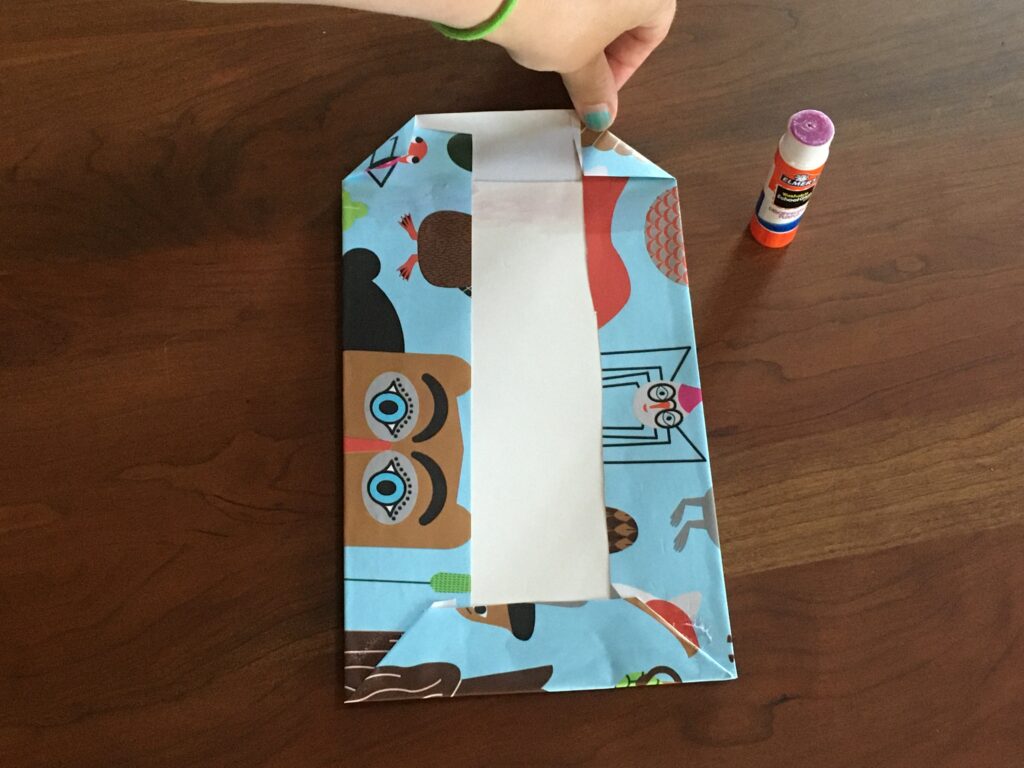
Glue one side of the poster board to the wrapping paper. Fold wrapping paper over board edges and glue down. *For best results: Start with the left and ride sides and fold toward the center. Glue underneath each side and press flat, making sure the paper is taut with the edge. Fold the corners on the top and bottom sides so that they make small triangles. Fold the top and bottom sides toward the center. Glue underneath each side and press flat, making sure the paper is taut with the edge.*
Step 3
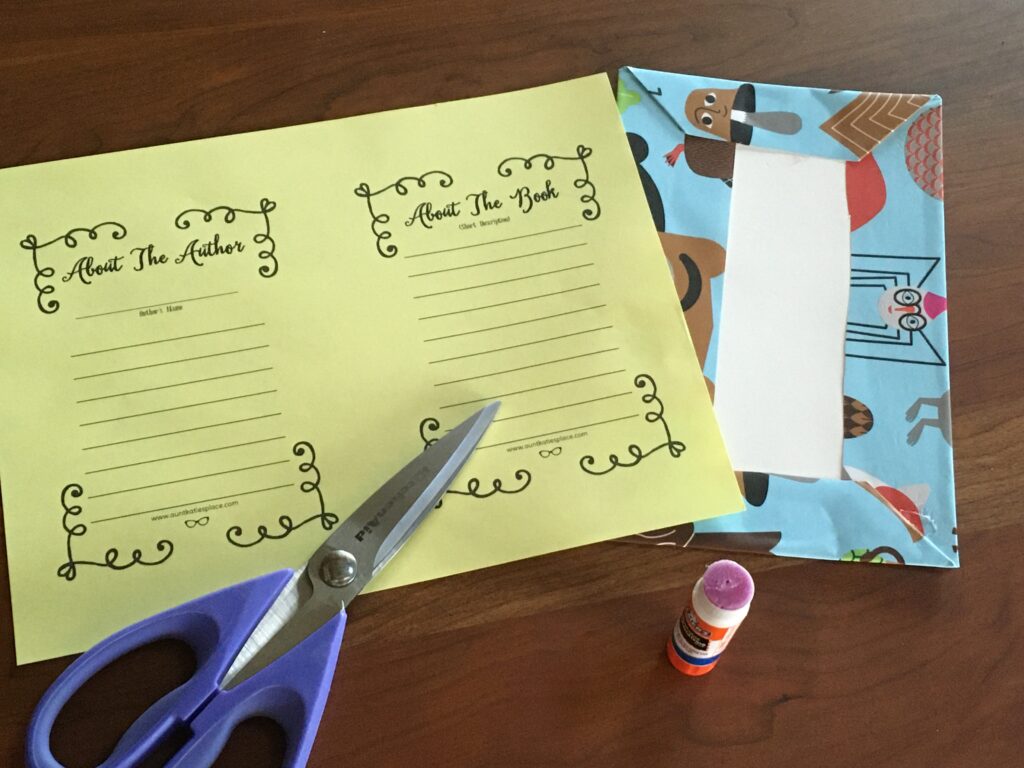
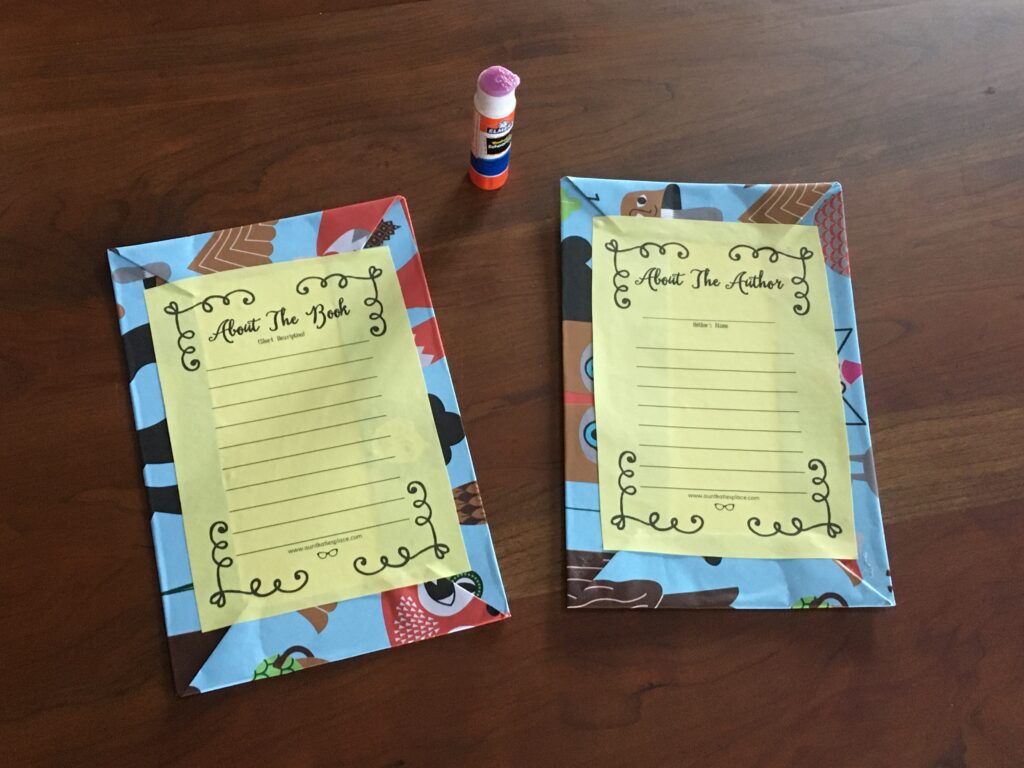
Take the second sheet of colored paper and cut it in half. Trim and glue the paper to cover the unwrapped portion of the board.
Repeat steps 2 and 3 with the other piece of posterboard.
Step 4
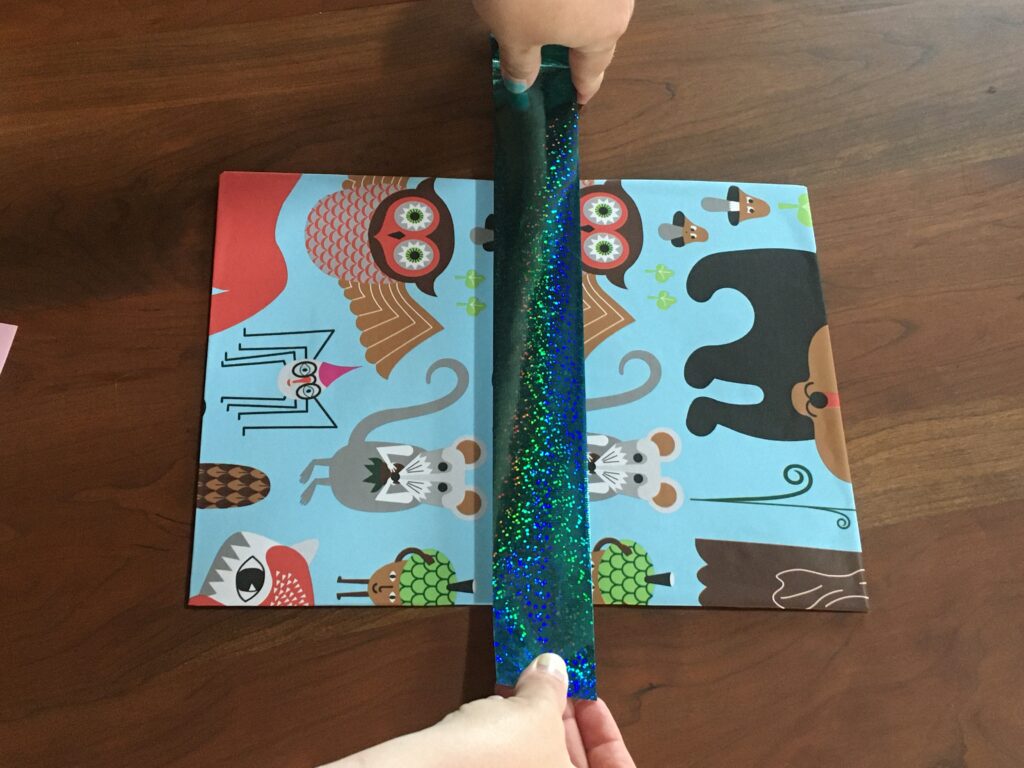
Lay the two boards with their long sides parallel to each other with the wrapping paper facing up (colored paper facing down). Make sure the boards are about 1/2” apart. Cut a piece of duct tape that is long enough to connect the boards lengthwise plus two inches. Place the tape so that it is connecting the longest sides to each other, but still leaves the 1/2” gap. Fold the excess tape onto the other side.
Step 5
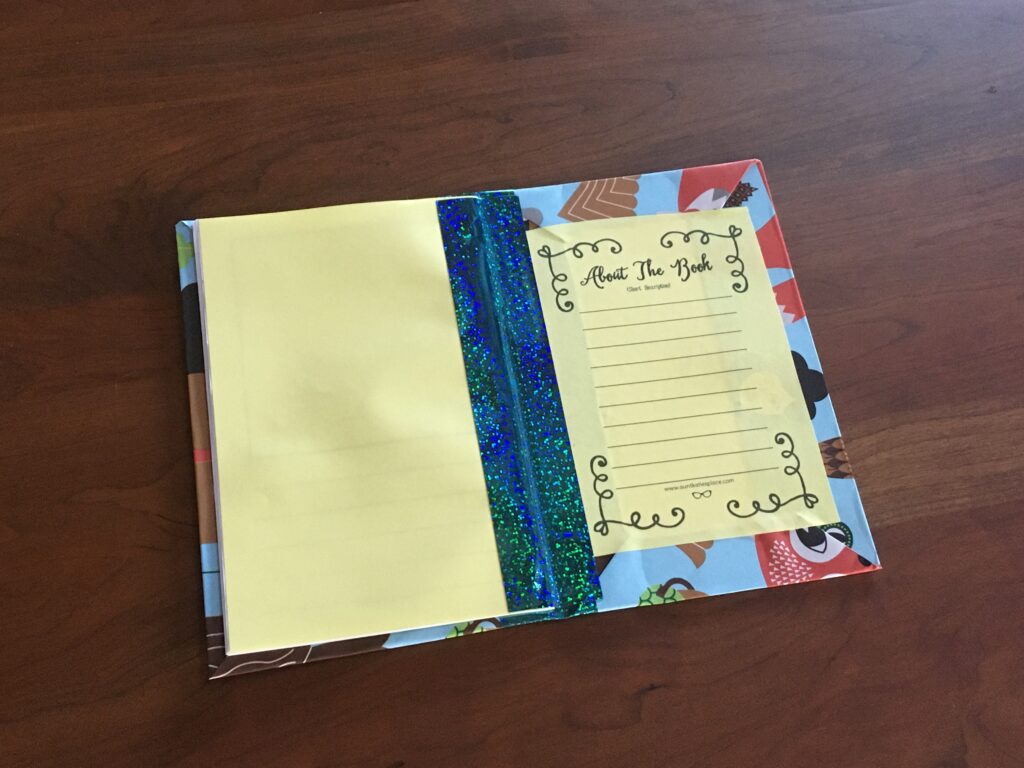
Repeat Step 4 on the colored paper side. You’ve now created your book cover.
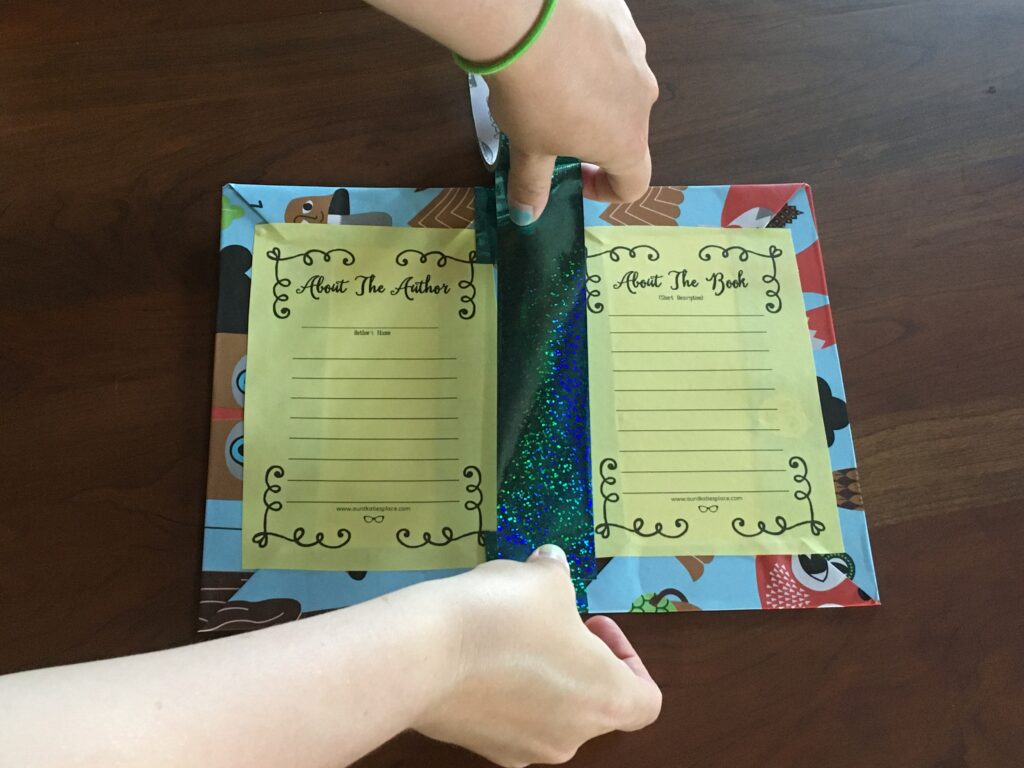
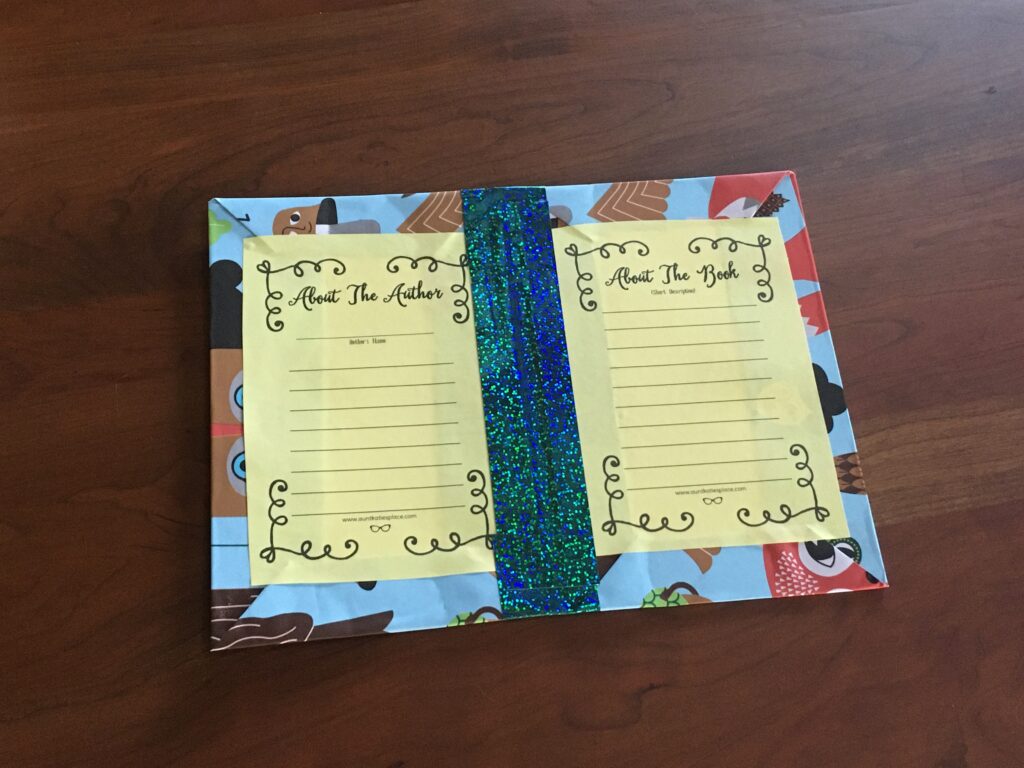
Step 6
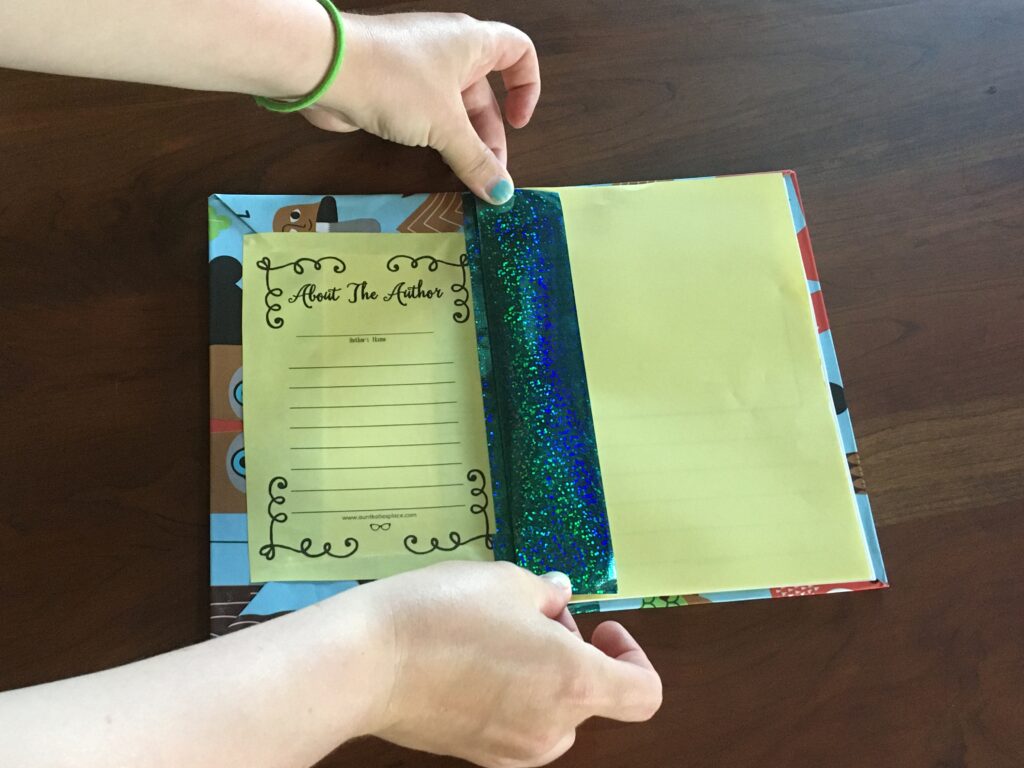
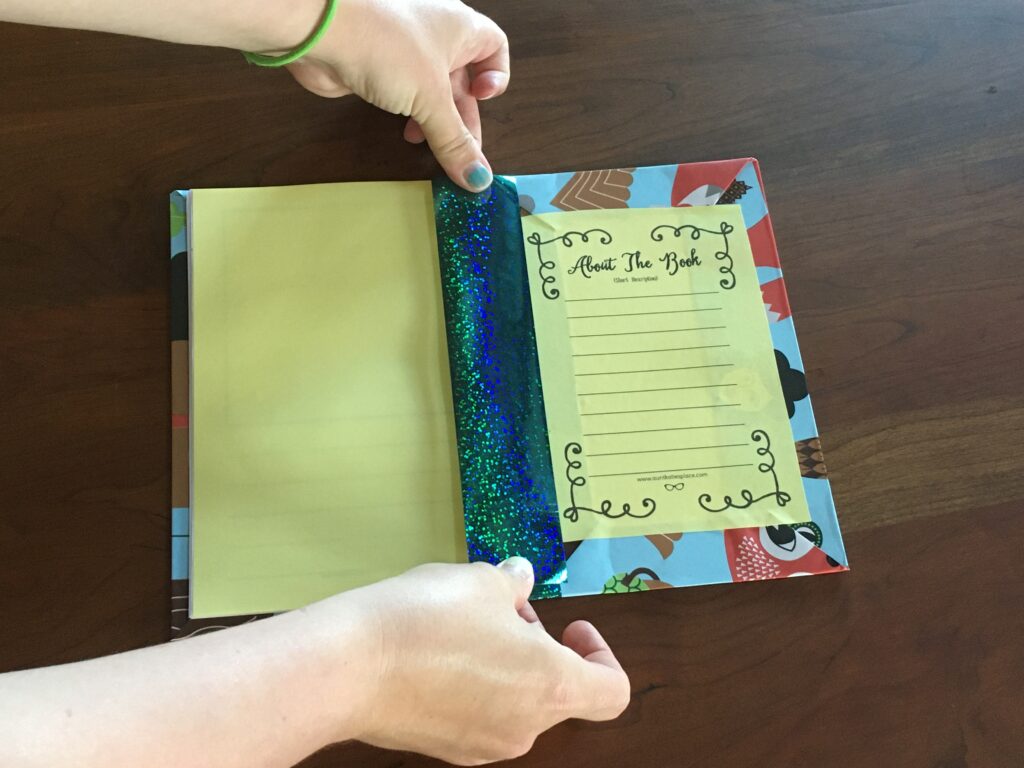
Take the interior booklet, and lay it flat on one side of the board so that the folded edge is touching the center of your new book cover. Cut a piece of duct tape that will run the length of the booklet. Tape the booklet down.
Repeat on the other side of the booklet so that both sides are now taped down.
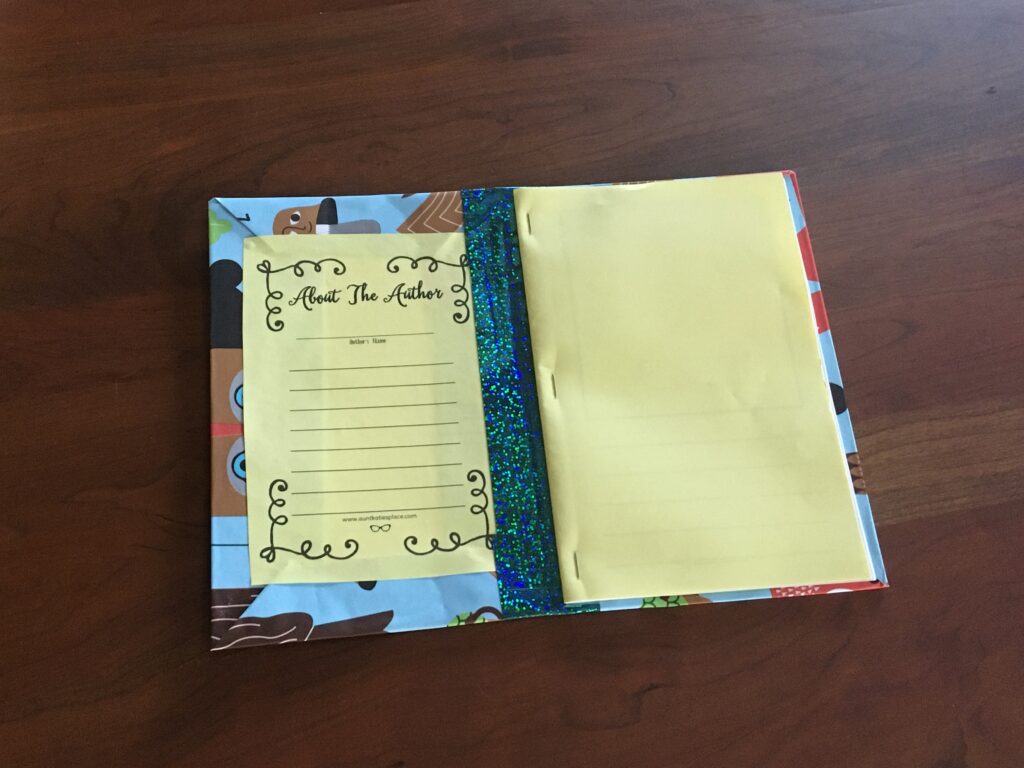
Step 7
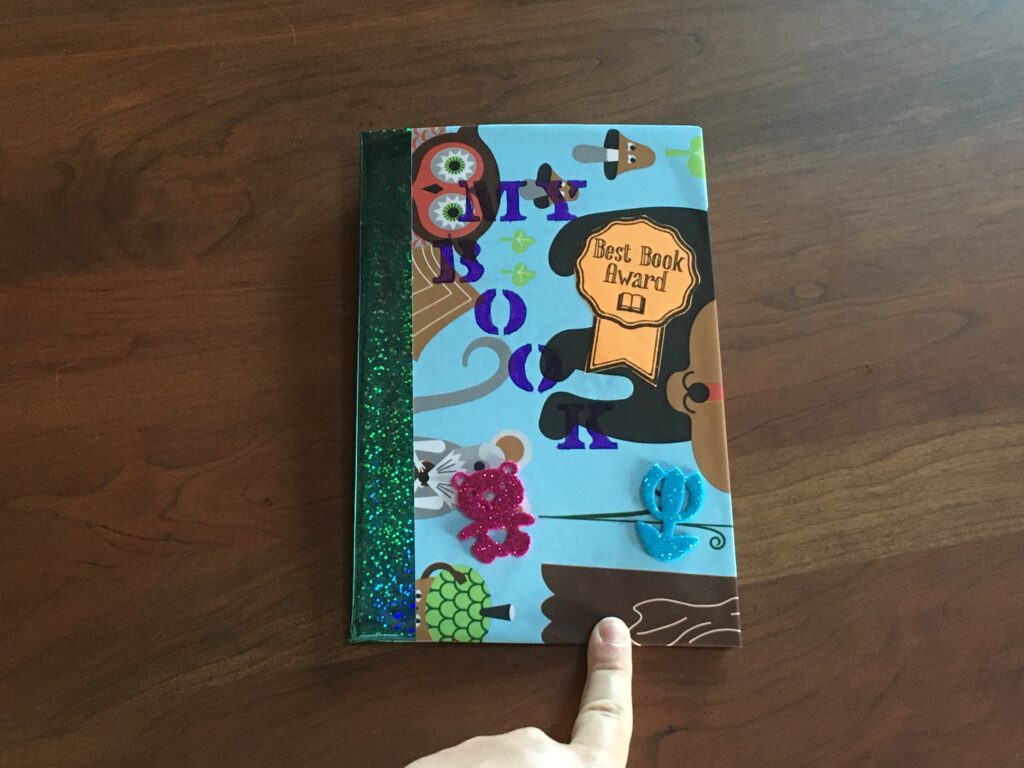
Decorate your cover and write your book! Make sure to include some information about the author… you!
Step 8
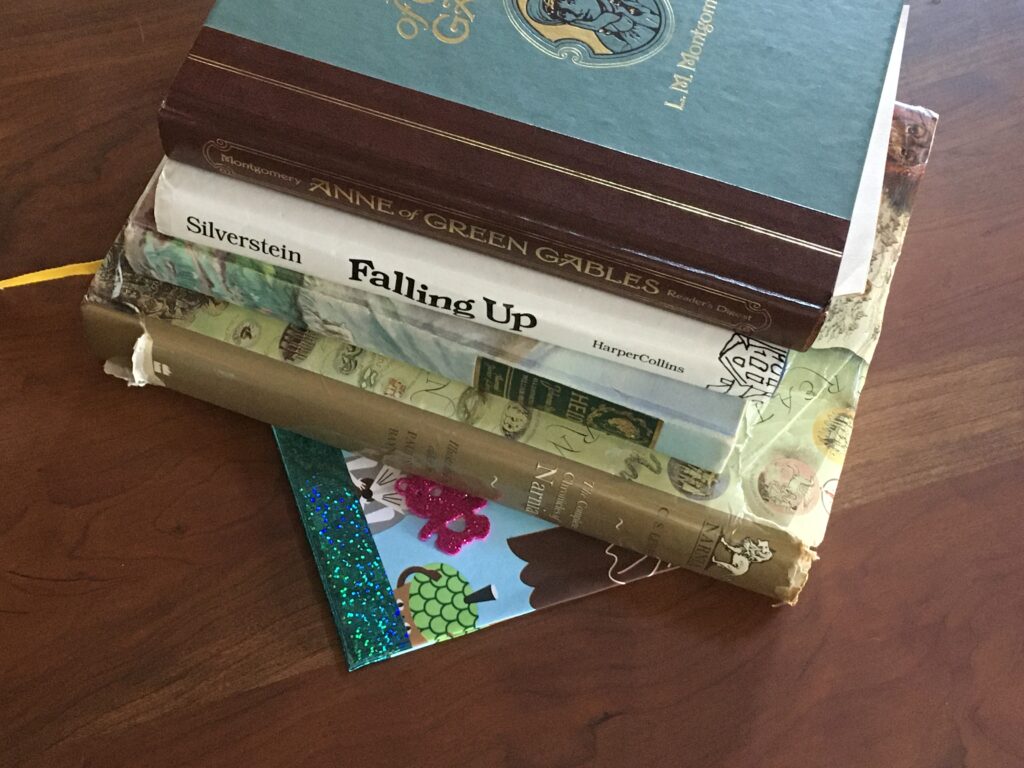
When you’ve finished decorating and writing your book, you’ll need to press it flat. Find some very large, heavy books and lay them on top of your new book for a few days. This will help flatten the spine of your book so your cover won’t keep popping open.
Step 9
Share your book with @auntkatiesplace! What did you write your book about? How did you design your cover? Did you make a comic book or a novel? I’d love to see it!
We use cookies to ensure that we give you the best experience on our website. If you continue to use this site we will assume that you are happy with it.OkPrivacy policy